Upper and Lower Hinge Assemblies
Joe
August 11, 2016
Plans Reference: 06-02
Hours Spent: 3
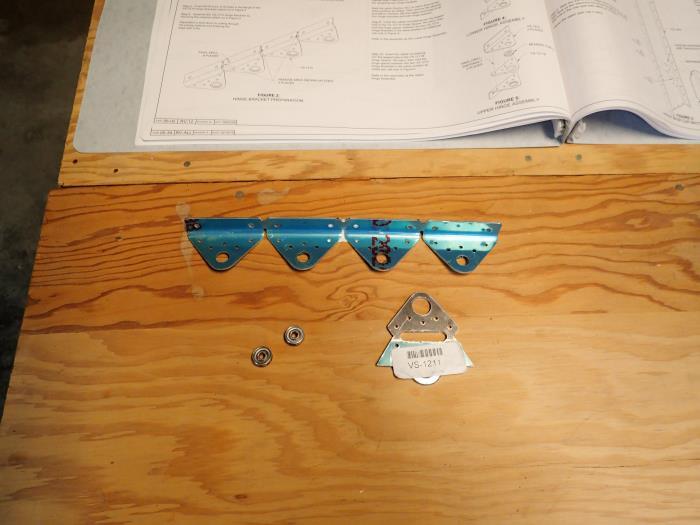
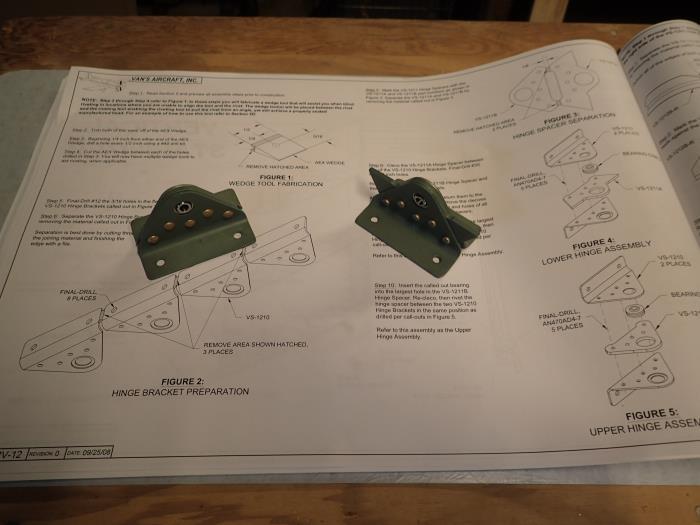
Drilled and Cut the Wedge tools, cutting such a small peice with the band saw was very sloppy. If there are any further pieces this small I’ll need to find a better way of sending them through, perhaps a dot of glue holding the wedge onto a larger piece of plywood would make the cuts cleaner and easier to control on the way through the band saw.
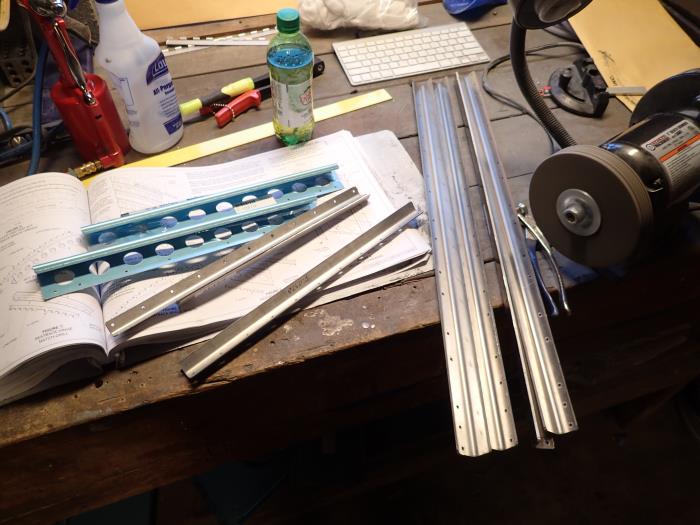
Cut the hinge spacer components apart on the band saw then filed away the extra tabs. Finished up by deburring all the exterior edges on the benchgrinder scotch brite wheel.
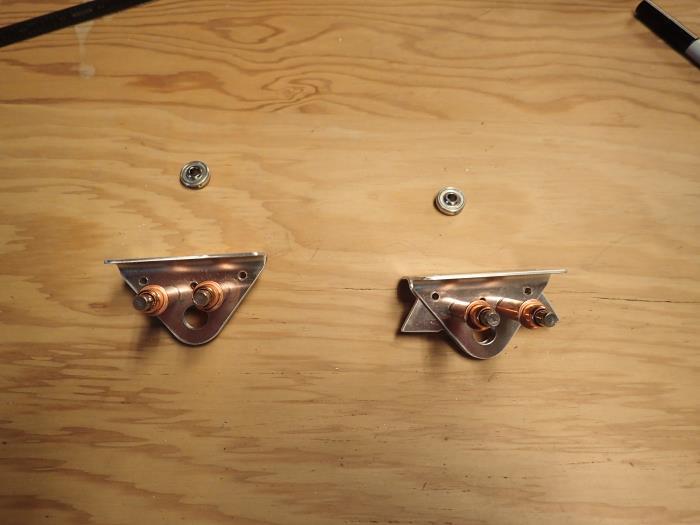
Matched drilled the 8 #12 holes then clecoed the assemblies together and match drilled the #30 holes moving the clecos as needed. Disassembled and deburred all the match drilled holes using old drill bits. I also deburred the bearing holes using the cleaveland debur handle.
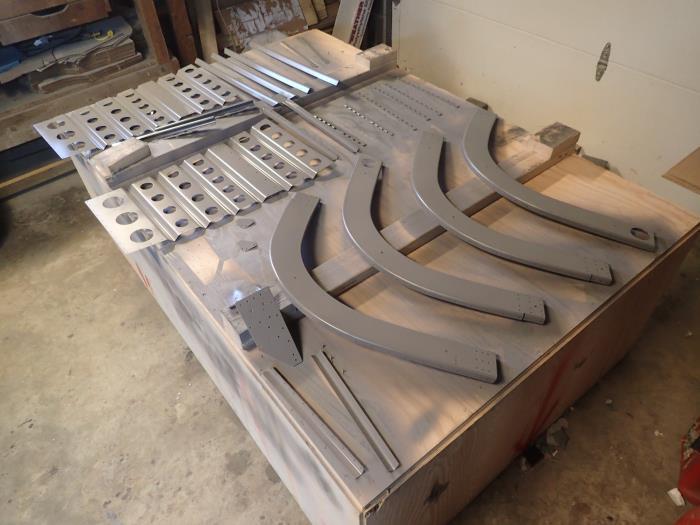
Washed all 6 pieces with soap and water then gave them a bath in Naptha, using a heat gun to speed up evaporation after removal. Then sprayed all 6 aluminum pieces with SEM self etching primer and again used the heat gun to speed up hardening it as I saw in a video on the EAA website. It worked suprisingly well.
Finally I re-clecoed the part and squeezed the rivets using the pneumatic squeezer. The first rivet I set on the lower hinge assembly had a slight crease where I had to adjust the mouth and re-squeeze a couple times, however, the manual suggests not replacing a rivet with this defect so I’m leaving it as is.